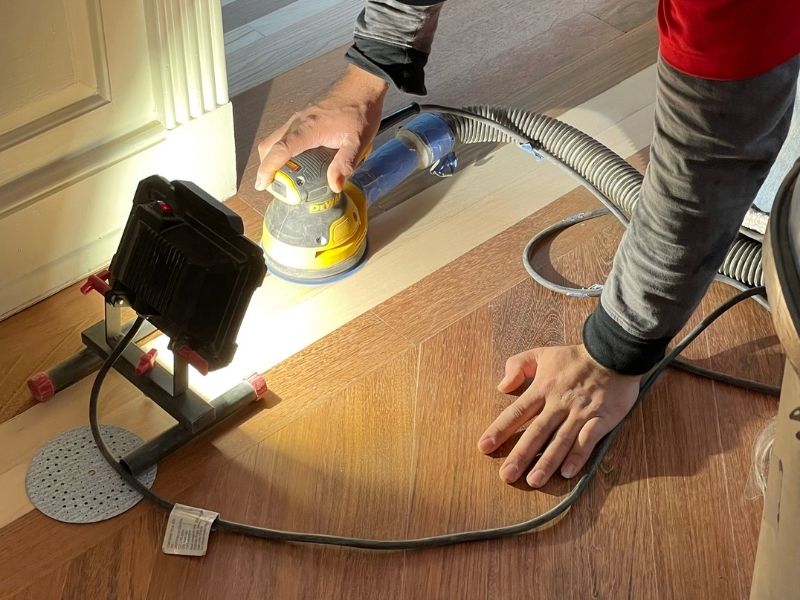
Tips on Using an Edger
The edger is a small handheld machine with a rotary disc that sands small areas in a circular motion. It is often used to smooth out the areas of a room that the main drum sander cannot reach. These include the edges (which gives this machine its name), corners, and other hard to reach or narrow areas like closets.
Using an edger is not easy. It is one of the most physically taxing tools of the trade and can be one of the most difficult to learn to use correctly. So why do many put those who are just learning the trade on this machine? Because it is an excellent teacher, with easily visible, yet easily corrected, results if you do it incorrectly. Introducing new hires to the battle of the swirl will help them learn good technique and give them an eye for detail.
Those in the industry know what we mean by “battle of the swirl.” For those not so familiar, since the edger is a small machine that uses a rotary disc to sand, sometimes, if not done properly, the machine can leave circular marks or “swirls” behind. Some of the most significant considerations to prevent this are the type of sandpaper used, the grit sequence, and the pressure applied to the machine.
So, let’s talk about sandpaper. For those of you who work with hardwood, you can skip on down to “Tips on Using the Edger,” others might want to hang around. Many might not realize that there are different types of sandpaper used for different things. The grit of the sandpaper is created by minerals that are adhered to the backing of the sandpaper sheet. Sometimes this includes aluminum oxide, ceramic alumina, silicon carbide, and zirconia alumina. Each of these minerals is used for different purposes and at various times during the sanding process. The size of the minerals in the paper also makes a difference as to when it will be used in the process.
Apart from the sandpaper, the second most important aspect of a smooth job is the edger itself. You need to make sure the pads of the edger are in good shape and adjusted correctly; otherwise, you will end up with swirls. Next, the wheels need to be adjusted to the appropriate height and angle and cleaned so the cut marks are even and the proper depth for the job.


Here Are Some Tips on Using the Edger:
- The best practice is to sand across the grain to produce a flatter floor.
- Try to overlap the areas where the drum machine has sanded, so there is adequate blending between the edges of the room and the center.
- Keep it moving. If you stop for any length of time in one spot, you’ll end up with unsightly gouges.
- Try not to apply pressure. Let the machine do most of the work, using its own weight and size of the grit to sand the floor. If you add too much pressure, you are in danger of getting those dreaded swirls again.
- Use an appropriate grit sequence. Start with larger grain; then use sequentially smaller grain to refine the scratches left by the previous.
- Sand clockwise around the perimeter so you are not going against the movement of the machine.
- Vacuum between every cut. Debris and dust can cause gouges or wear out your sandpaper faster.
- Make sure to use the same size grit on the final pass over that the drum machine is using to ensure a good blend.
- Check the final result and remove any imperfections by hand.
- Remove dust and debris from the machine after every use. This will prolong the life of your machine and ensure a cleaner workspace at the next site.


